The ProffieOS Workbench
Project maintained by profezzorn Hosted on GitHub Pages — Theme by mattgraham
The ProffieOS Workbench is a WebApp that uses WebUSB to talk to your Proffieboard and lets you control basic settings and edit fonts and presets. This page will show you how to use it. If you're wondering how to set it up, see the webusb page.
Making the connection 🔗
If the Proffieboard is currently connected to your computer or phone, and the SD card is mounted, make sure to eject it or the app will not work properly. Click HERE to start the ProffieOS Workbench. You should see something like this:
Depending on the capabilities of your browser, you may see only one or none of these buttons. See the end of this page for how to get it working. Pick USB or BLE (bluetooth). Note that using BLE is only possible if your saber has a bluetooth module. To use the USB button, make sure that the computer/phone is connected to the proffieboard with a data-capable USB cable. Your browser will now ask you to select the proffieboard you want to connect to. Usually there is only one:
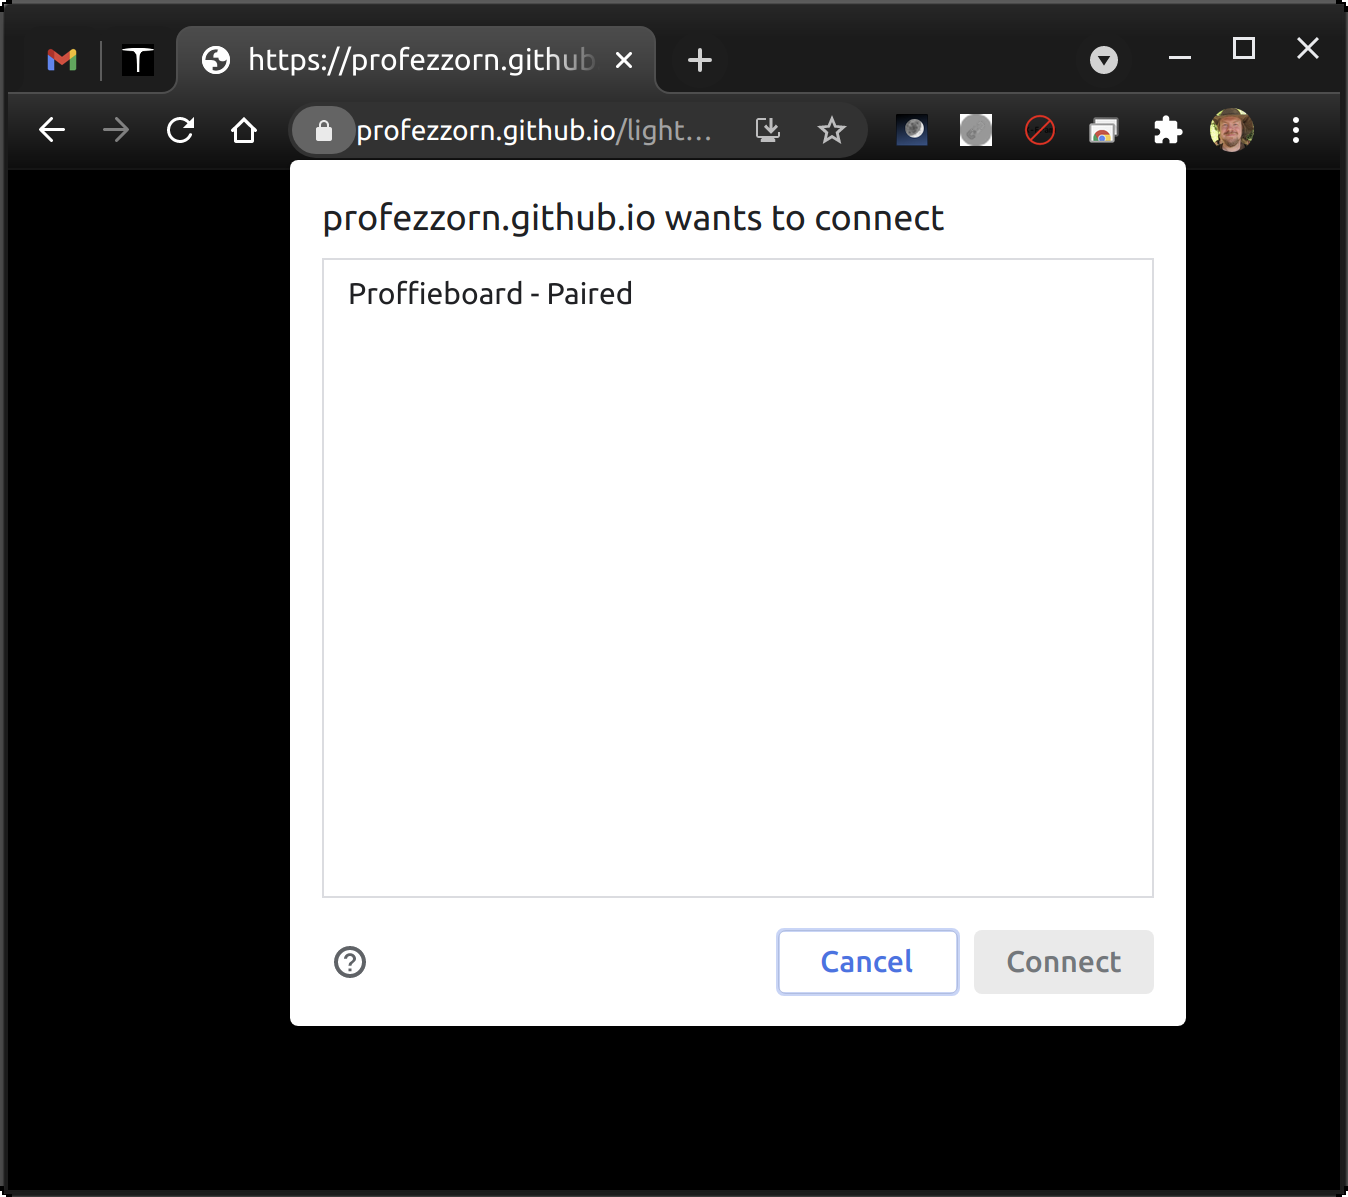
At this point you should be connected.
Control interaface 🔗
Once connected, you should see something like this:
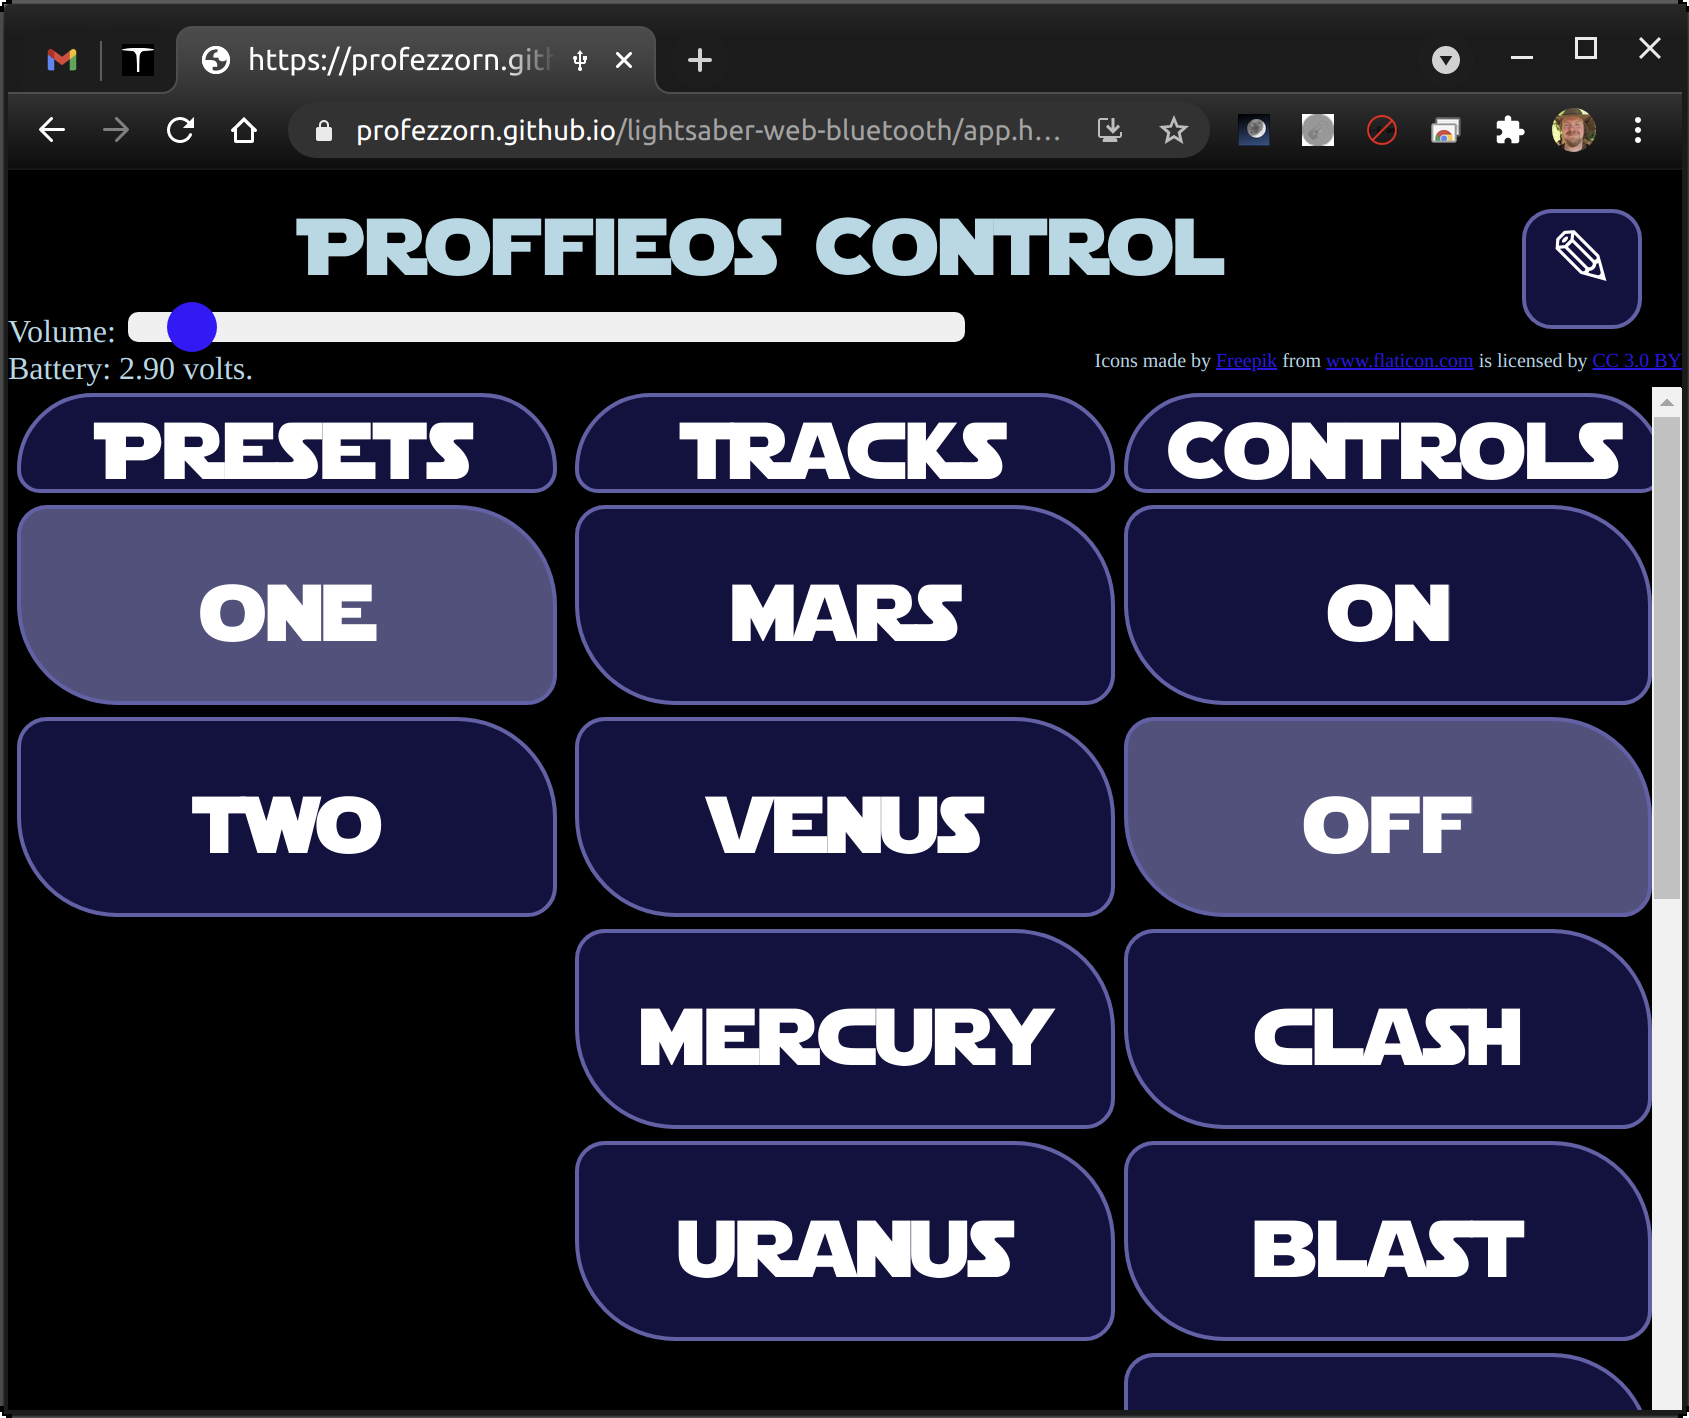
On the top left you'll see a slider for adjusting the volume and the current battery voltage. On the top right you'll see a pen button which takes you to the editing interface. Below those you'll see three columns:
- Presets, clicking them selects that preset.
- Tracks, clicking the track starts playing the track
- Actions, Lets you turn the saber on/off and trigger clashes, blasts and other effects.
Editing interaface 🔗
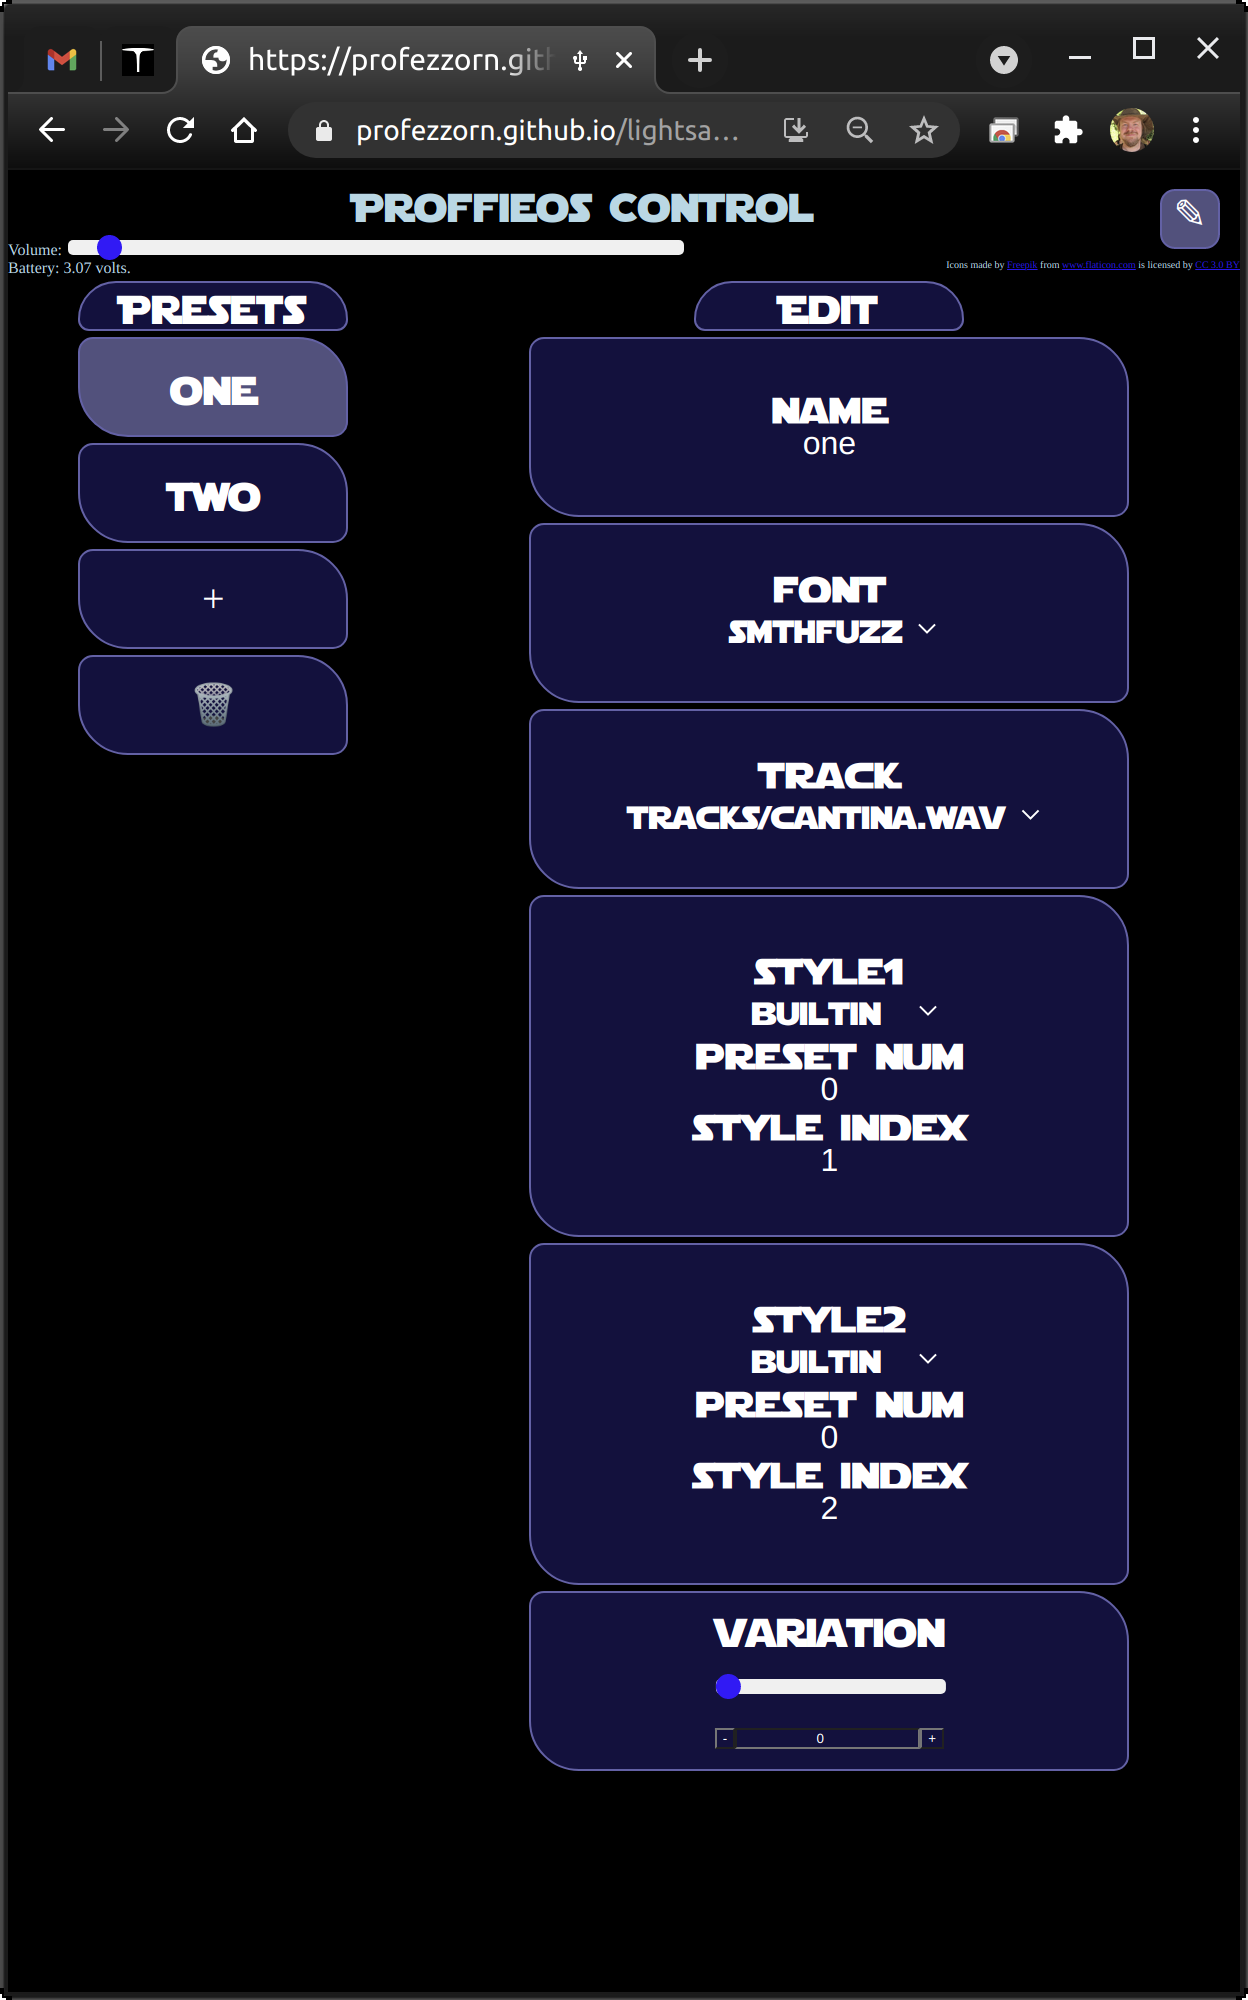
On the left you'll see all your presets, a plus and a trash can. You can re-order the presets by dragging them. You can delete presets by clicking the trash can or dragging presets onto the trash can. You can create new presets by clicking the plus button or dragging presets onto the plus icon. On the right you can see all the individual fields that make up a preset:
- Name: The name of the preset. This is really only used to identify the preset in this app.
- Font: The sound font for this preset.
- Track: The sound track to use with this preset.
- Styles: These specify the style and color for the blade. If your saber has multiple blades or accents, there can be multiple styles in each preset. In this example there are two styles.
- Variation: Depending on the style, this lets you change the style or color of the blade.
All changes you make are saved immediately. When done, click the pen icon in the top right corner again to return to the control interface.
How to add a new font 🔗
- Upload the font to the SD card. Assuming that your saber is configured with mass storage support, plug the USB cable into your saber and wait for the SD card to show on your desktop. Drag the font folder to the SD card, and then eject the drive from your computer safely. Please note that this can take a couple of minutes to complete.
- Now start from the top of this page and navigate to the Editing Interface.
- Pick a preset that may match the font you are adding.
- Press the "+" button. This will duplicate the preset you had selected.
- Now select the newly added font from the "font" dropdown in the right column.
- Done, although you may optionally change other parts of the preset like blade color and style.
How do I reset it back to factory settings? 🔗
- Plug in the USB cable and wait for the SD card to show up on your desktop.
- Open up the drive and delete "presets.ini" and "presets.tmp".
- Eject the SD card drive from your computer.
- Unplug the USB cable and insert your kill key, flip your kill switch or press the reset button on the proffieboard.
Troubleshooting 🔗
I get this message"This browser supports neither webusb nor web bluetooth." 🔗
See "No USB button" below.
No USB button 🔗
Make sure to select a browser that supports WebUSB..
No BLE button. 🔗
Make sure you use a a browser that supports Web-bluetooth. Note that it seems that with chrome on linux you have to enable "experimental web platform features" in about:flags. On IOS, you need to install an app called "Bluefly" to use Web-bluetooth.
Board doesn't show up after clicking USB button 🔗
- Make sure you have a working USB cable.
- Make sure your board was programmed with WebUSB support. (Webusb was selected in Arduino->Tools->Usb type)
- For windows7, you need to use zadig to make WebUSB work, here is how
Board doesn't show up after clicking the BLE button 🔗
- Does your saber actually have a bluetooth module?
- Is it a supported module? (FSC-BT630, FSC-BT909 or RedBear BLE Nano 2)
- Is the bluetooth module on? Is bluetooth on on the device you're trying to connect from?
I want more options! 🔗
Proffieboards can be programmed to do just about anything from Arduino. While not immensly complicated it does require more work than the methods described on this page. If you're still interested, check out the ProffieOS page.